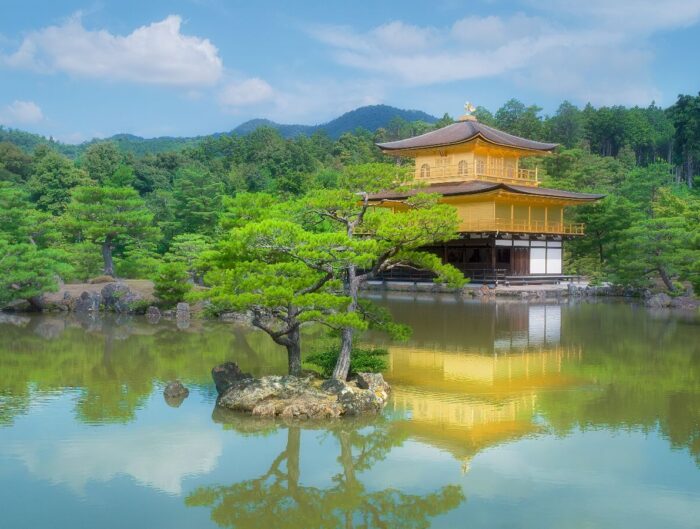
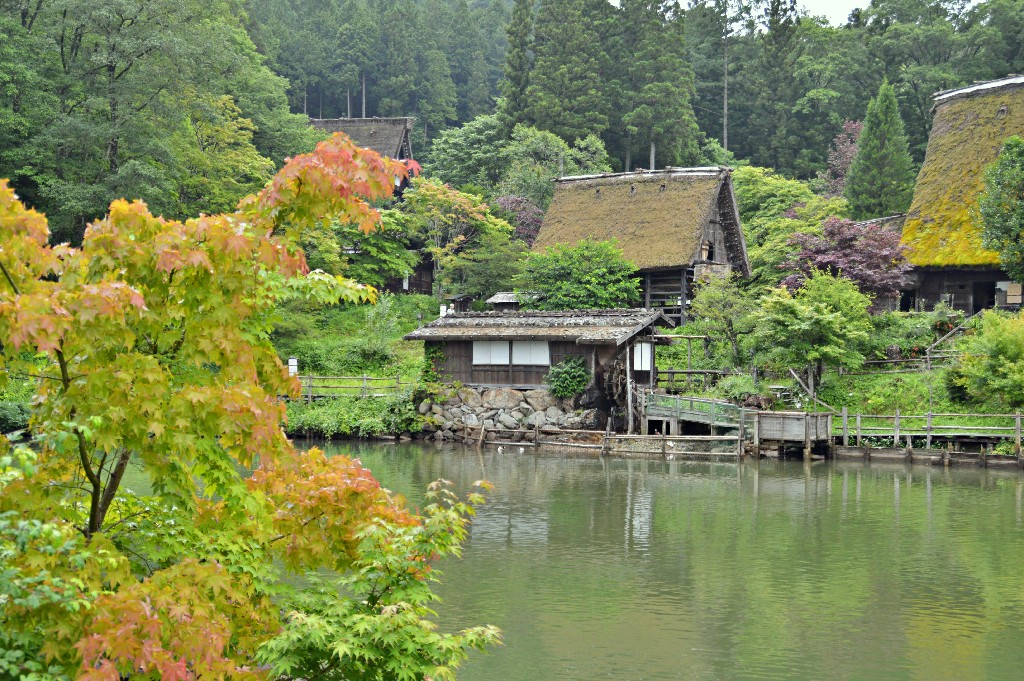
Here’s how we planned our trip to Japan and what we’d do differently today. We cover flights, places to stay, money, mobile data and the question we spent longest on: whether to buy a Japan Rail Pass.
We travelled as a family, but most of these tips apply equally if you’re travelling as a couple or with friends. For the route itself, see our ten favourite places to visit in Japan.
- When to go, flights and accommodation
- Entry requirements and paperwork
- Cash and cards
- Internet and phone calls
- Trains, rail passes and local transport
- Other tips for the trip
Planning a trip to Japan
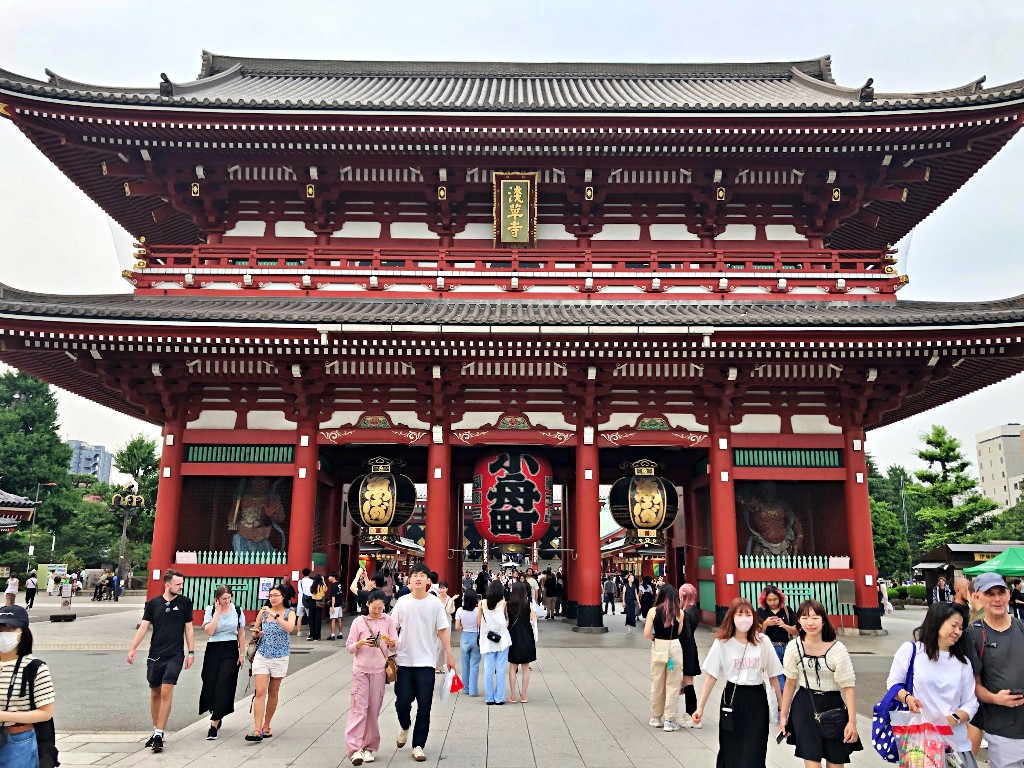
When is the best time to visit Japan?
We travelled from late June to early July. It felt quieter, though we caught the rainy season. It rained hard on two days and we simply moved a few things around. We’d allow at least 14 full days on the ground for a first trip if you can. We felt we’d seen plenty and still wanted more.
- Spring. The cherry trees in Tokyo and Kyoto generally bloom in late March or early April. The dates change with the weather and vary across Japan. It reminds us of almond blossom season back home in Mallorca.
- Winter. Snow in the Japanese Alps and a soak in a hot spring make a lovely combination.
- Summer. June and July bring the rainy season to much of Japan, alongside a calendar of festivals and fireworks. Typhoons can disrupt trips in summer and early autumn.
- Autumn. Mid-October and November are good months to look for maple colours. The leaves turn earlier in the mountains and the north.
Booking flights to Japan
Along with accommodation, flights were our biggest expense. We flew from Mallorca and set ourselves a limit of one connection, so we went Palma–Munich–Tokyo. If your route ends around Osaka, compare flying home from there with going back to Tokyo by train.
Check whether the airline will send your bags through to your destination, especially if your flights are on separate tickets. The extra time matters when you have to collect and recheck luggage.
Japan is seven hours ahead of mainland Spain in summer and eight in winter. We tried to stay awake until local bedtime, which helped us get used to the time difference. We found it harder coming home.
Where to stay in Japan
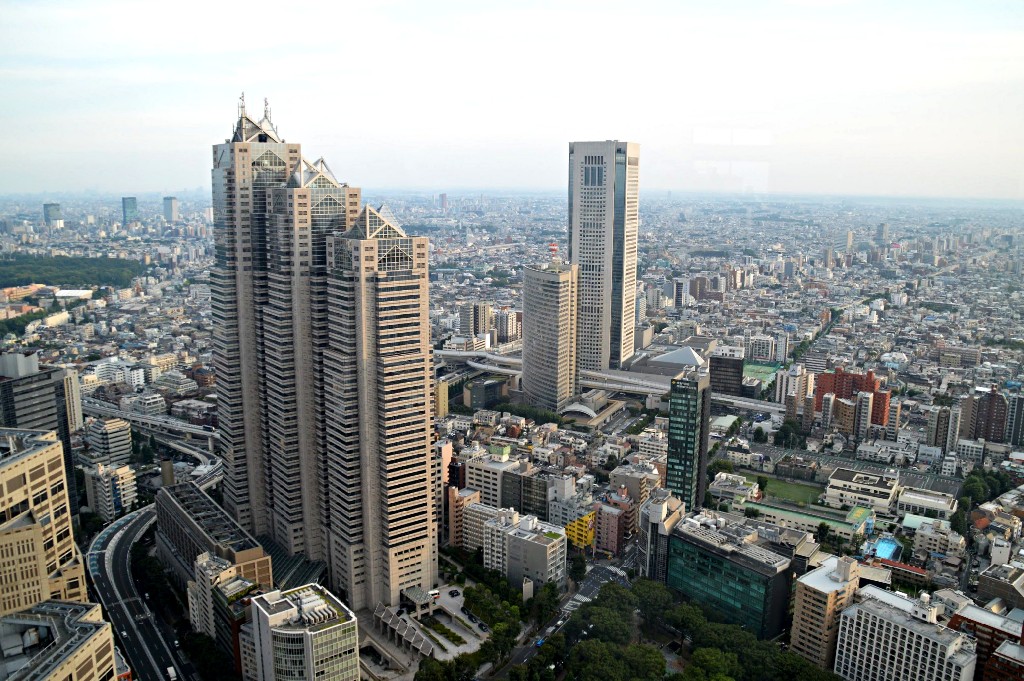
We usually look on Booking.com and reserve a room with free cancellation and payment later if we find a good rate. Decide on the cities you want to see first. We stayed in several places rather than spending hours getting back to the same hotel every night.
Look at the floor area, the bed width and how much room there is to open a case. In some of the places we considered, the standard double was only 135 cm wide and storage was limited. We looked for beds at least 150 cm wide.
Some itineraries start far from Tokyo and work back towards it. We started in Tokyo and kept two days there for the end. We’d happily do it that way again.
If you can, spend a night in a traditional ryokan. We loved Oyado Koto No Yume in Takayama, near the historic centre and the bus station. We booked a Japanese breakfast and a private onsen for the family. There was also a communal bath.
Entry requirements for Japan
For short tourist stays, Spanish passport holders can normally visit without a visa for up to 90 days. The Japanese Ministry of Foreign Affairs lists the rules by nationality. If you’re travelling on a British citizen passport, the UK government’s Japan entry advice also explains what applies.
Carry a valid original passport. The optional Visit Japan Web service lets you prepare immigration and customs details for free and show a QR code on arrival. The official guide explains how to add accompanying family members. The QR code for tax-free shopping is a separate service.
We’d also take out travel insurance. Look at the medical cover, exclusions and baggage limits. If you live in Spain, you can register your itinerary with the Spanish Ministry of Foreign Affairs.
Money in Japan: cash and cards
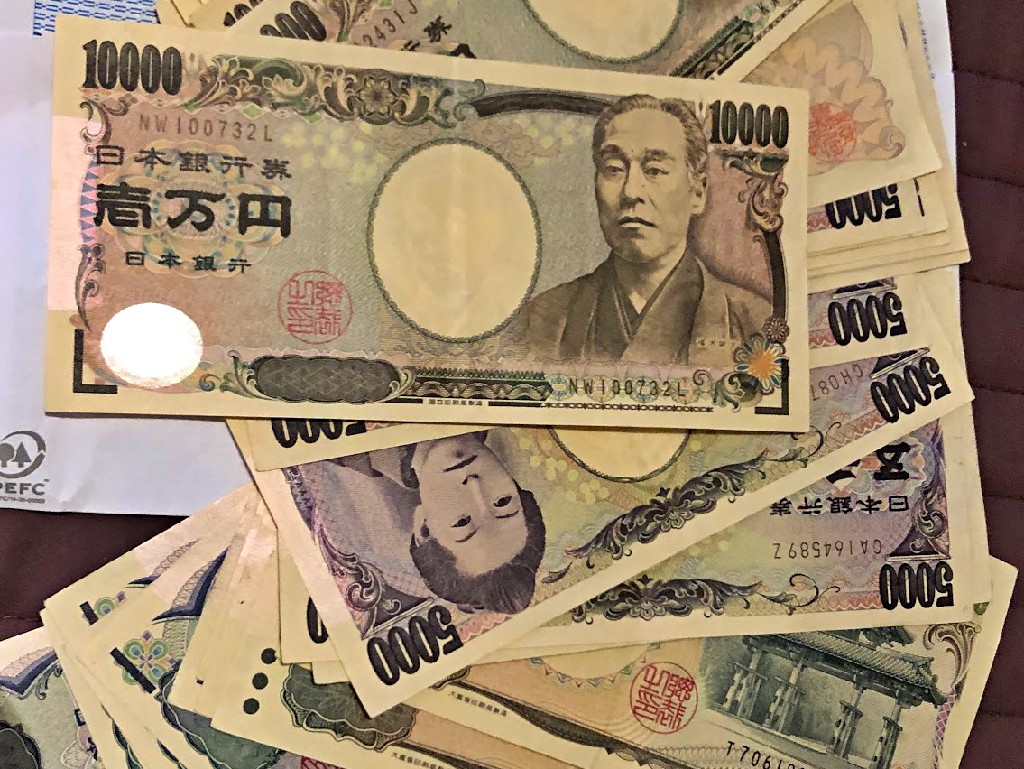
We took some yen and cards from different banks. We used cash for many meals, small purchases and some transport, and cards for hotels and certain tickets. When a card machine offered to charge us in euros or yen, we chose yen.
We used Revolut for everyday spending and N26 for some hotel bills. Fees and exchange rates depend on your own plan. One hotel payment showed up twice in our app. If it happens to you, check whether one transaction is a pending authorisation before assuming both payments have gone through.
We found ATMs in post offices, and you can also look for machines that accept overseas cards at convenience stores. The ATM may charge its own fee in addition to what your bank charges.
We ordered some yen from ExactChange before leaving Spain, which saved us a job at the airport. We changed the leftover cash back on the way home. If you’re comparing services, look at the amount of yen you’ll actually receive after fees and delivery.
Mobile internet in Japan: pocket Wi-Fi, eSIM or SIM
Pocket Wi-Fi
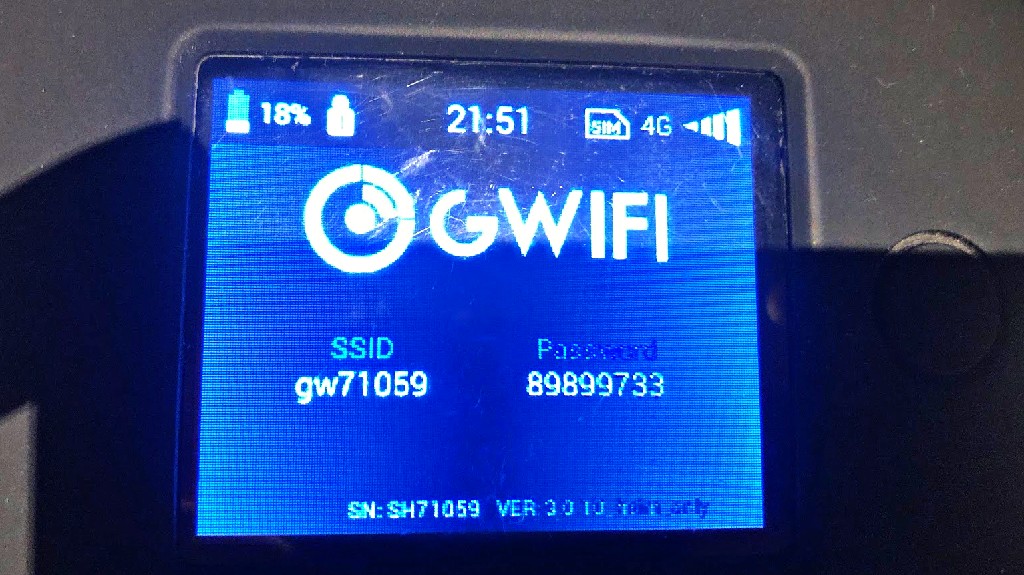
We ordered a pocket Wi-Fi router and collected it at the airport. It let all four of us connect while we were together. At the end we returned it by post following the supplier’s instructions.
It sounded ideal until we found that we only had 3 GB of fast data a day. A few videos or photo uploads and it slowed to a crawl until midnight. We also had to recharge it during the day. We sometimes switched it off for a while or used the hotel Wi-Fi instead.
For maps and messages, we can see the appeal of sharing one device. For four people uploading videos, we’d choose differently. Check the allowance at full speed, how many devices can connect and how long the battery lasts.
eSIM or a physical SIM
An eSIM can be set up before you go if your phone supports it. Check when the plan starts, how much data you can use at full speed and whether you can share it. With four phones, compare buying four plans with sharing a connection. A physical SIM is another option if your phone doesn’t support eSIM.
We tried Holafly in New York and got on well with it there. In Japan we made calls home through WhatsApp when we had a connection. With a data-only plan, calls through your usual phone line are still subject to your provider’s roaming terms.
Hotel Wi-Fi helped us a lot. We also used public Wi-Fi, though sometimes it was slow or made us sign in again. If you need the route while you’re out, save it before you leave the hotel.
Trains and public transport in Japan
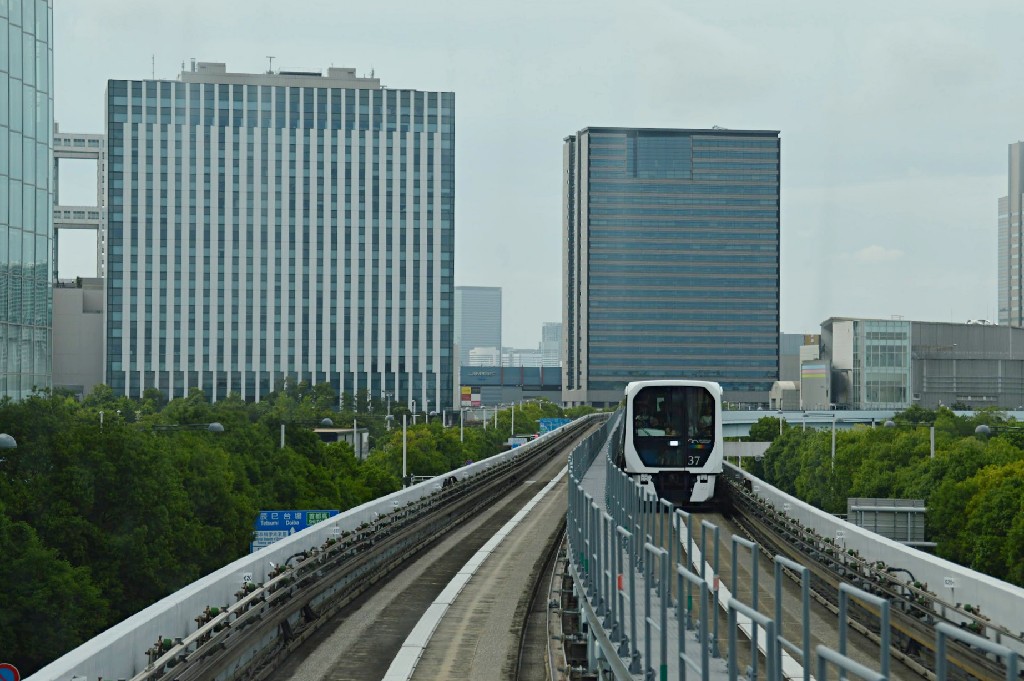
We found the trains and buses punctual and frequent. There’s usually time to check the destination before boarding, which is worth doing when two platforms or stops look almost identical.
Traffic drives on the left. Even using Google Maps, we twice waited on the wrong side of the road for a bus. Check the direction on the stop itself.
Is the Japan Rail Pass worth it?
We used the pass for much of our trip, from Tokyo’s Yamanote loop to the long-distance trains and the Miyajima ferry. At today’s prices we’d add up the train fares before buying one. For a simple Tokyo–Kyoto return, we’d buy individual tickets.
On the official SmartEX fare table, a reserved standard-class Nozomi seat between Tokyo and Kyoto is ¥13,970 (about €80) each way in the regular season. That’s ¥27,940 return (about €160) compared with ¥50,000 (about €285) for the seven-day national pass bought direct. If you can fit several long journeys into the same pass period, it may pay off. Compare the trains you’d actually use and include any extra fares or supplements.
Here are the official adult Ordinary prices. The overseas agent fares shown apply from 1 October 2026. Child fares are around half the adult price, generally for ages 6–11.
| Duration | Official website | Authorised overseas agent |
|---|---|---|
| 7 days | ¥50,000 (about €285) | ¥53,000 (about €300) |
| 14 days | ¥80,000 (about €455) | ¥84,000 (about €475) |
| 21 days | ¥100,000 (about €565) | ¥105,000 (about €595) |
Euro amounts are approximate and may vary with the exchange rate.
If your longest journeys are in western Japan, look at the Kansai–Hiroshima Area Pass. It costs ¥17,000 (about €95) per adult for five days and covers the Sanyō Shinkansen from Shin-Osaka to Hiroshima and the JR ferry to Miyajima. The Kyoto–Shin-Osaka Shinkansen is outside its coverage, but you can take a conventional JR train on that stretch.
Buying and using the JR Pass
The national pass runs for consecutive calendar days. It covers eligible JR services including Hikari and Kodama bullet trains. For Nozomi and Mizuho services you need to buy a dedicated additional ticket. Most metro and non-JR services require a separate fare.
Buy online from JR or through an authorised agency. To collect the pass, take your original passport showing Temporary Visitor status to a designated office. Make sure the name on the booking matches the passport. If you buy direct, you can also reserve seats online on eligible services before collecting the pass.
We bought ours alongside our pocket Wi-Fi. Booking seats together was the biggest practical advantage for us on long journeys. Keep hold of the pass until the end of the trip. If it won’t scan, show it to station staff.
Suica, PASMO and ICOCA
These rechargeable cards cover many metro, bus and rail trips in Tokyo, Kyoto, Osaka and elsewhere. You can also use them in some shops and vending machines. Each passenger needs their own card. Longer journeys that cross different IC areas, or trains with a supplement, can require a separate ticket.
Top up at a compatible ticket machine and tap in and out as directed. Deposit and refund rules vary. The JR East Welcome Suica, for example, has no deposit and the remaining balance can’t be refunded.
Buses and the Kyoto day pass
The way you board and pay depends on the route. On many Kyoto buses we got on at the back and paid at the front as we got off. On some Tokyo routes we paid when we got on. If paying cash, look for the change machine next to the driver and put the exact fare in the fare box.
Kyoto’s Subway & Bus One-Day Pass covers the municipal subway and participating bus routes. If you only have a couple of journeys planned, compare it with individual fares.
Other practical tips for Japan
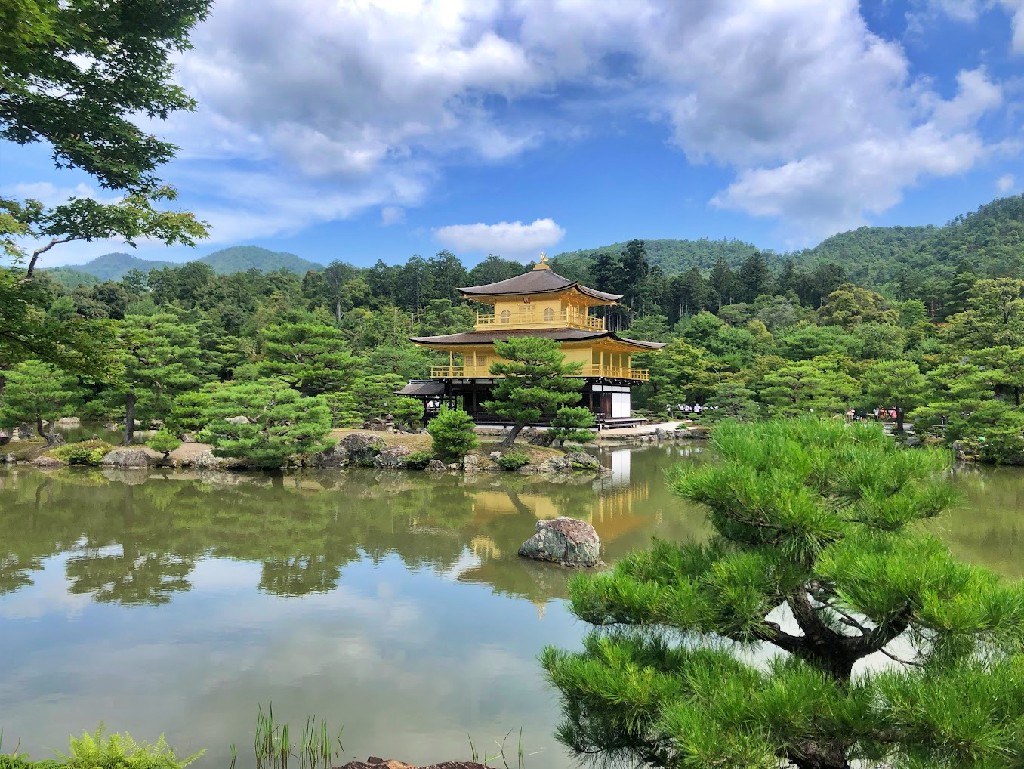
- Plan around the route. An extra detour can take a good chunk of the day. We found that even some recommendations we’d saved led to places that had closed. Start with the spots you’d most regret missing.
- Book popular attractions ahead. The Ghibli Museum was the one we couldn’t get into. For most places we bought through the official website and found the signs easy to follow when we arrived.
- Pack an adapter. Japan uses flat-pin sockets and 100 V electricity. If your charger is marked 100–240 V, it generally needs only a plug adapter. A multi-port charger came in handy with several phones to charge.
- Allow time for meals. We ate at counters, ordered on tablets and tried places where you sit on the floor. A translation app that can read a menu from a photo helped when there was no English menu.
- Insurance. We’ve used IATI and Heymondo on our travels. We compare the medical, flight and baggage terms for each trip.
Things we were glad to know once we arrived
- Public bins can be hard to find. We carried a small bag and used the appropriate bins when we came across them. Bins by drinks machines are usually for bottles and cans.
- We found umbrellas easy to buy, and Windy helped us work around rain. Google Maps was useful for travel times, but it sometimes took a moment to work out where we were.
- Station lockers and staffed left-luggage counters are handy when you have a day between hotels. Check the size of your case and the price before you queue. Luggage forwarding is another option if you’re changing cities and don’t want to carry large cases.
- We came across plenty of drinks machines and clean public toilets, including in some temples and parks. In the cities, 7-Eleven and Lawson were handy for essentials, and a taxi could save us time when we were tired.
- Plan around the last admission time if you’re visiting several places. Some temples and museums close earlier than we were used to. We often got water with our meal without having to ask.
A few useful phrases in Japanese
- Konnichiwa — hello.
- Ohayō gozaimasu — good morning.
- Konbanwa — good evening.
- Sayōnara / mata ne — goodbye / see you.
- Ogenki desu ka? — how are you?
- Genki desu, arigatō — I’m well, thanks.
- Watashi no namae wa [name] desu — my name is [name].
- Hai / iie — yes / no.
- Daijōbu desu — it’s OK.
- Arigatō gozaimasu — thank you.
- Dō itashimashite — you’re welcome.
- Sumimasen — excuse me / sorry.
- Kudasai — please, when asking for something.
- Itadakimasu — said before eating.
- Oishii desu — it’s delicious.
- Wakarimasen — I don’t understand.
- Kawaii — cute.
You’ll find more photos of our trip on Tomeu’s Instagram. When you’re ready to plan the route, here are our ten favourite places to visit in Japan.
You might also like